Earlier, I have written a post about Azure Notebooks, and how they can be effectively used to run Jupyter Notebooks with sample code. Unfortunately, this service is no longer with us, but the need to be able to execute notebooks still remains. Let’s go through some of the ways you can execute Jupyter Notebooks.
Just Reading
If the only thing you want is looking through the code in your notebook - you do not need anything complicated. If the code is located in some GitHub repository - just click on .ipynb file, and it will open in your browser.
You can also use nbviewer to browse through the code of any notebook, given either GitHub username/repo, or any URL on the internet. Here is an example of how GitHub repository looks like when opened in nbviewer.
Another option would be to use Visual Studio Code, which has built-in support for notebooks out of the box.
If Visual Studio Code is not installed, you can use online version vscode.dev, or github.dev.
GitHub.dev is a great way to open any GitHub repository in Visual Studio Code editing mode. Just substitute github.com in the repo URL with github.dev. As an additional benefit you get notebook support, but without the ability to run them.
Running Locally or in the Cloud
In most of the cases you do not only want to see, but you also want to execute Jupyter notebooks, to be able to change some code and see the result. If that is what you want - read on!
Because you need to execute the code somewhere, you have two options:
- Install required environment locally and run the code on your own computer
- Use some cloud services to run the code in the cloud
In first case you keep complete control of the environment and all files, and also of computing resources. In the second case you need to use somebody else’s servers, and that often comes for free with some limited computing abilities, allowing you to purchase more computing power when needed. However, you do not need to set anything up locally, and can be running the notebook in minutes. We will consider only free compute options later in this post.
Local Python Installation
If you work in the area of AI, ML or Data Science, you would probably have Python distribution already installed on your machine. Running Python locally is probably a good idea anyway, because in the modern software development world you are likely to need it at some point.
The easiest and most compact way to install Python is to use Miniconda distribution. While most people recommend Anaconda, which includes a large collection of Python libraries, I would rather start with barebone installation of Python, and install those packages that are really required. With Miniconda, initial distribution is only around 50 Mb, while Anaconda is close to 500 Mb in size.
After installing Miniconda, you would need to install Jupyter:
conda install -c conda-forge notebook
or
After the installation, navigate to the folder where your notebooks are located, and start Jupyter server:
After this, browser window will open, and you are good to go.

Some GitHub repositories would include information on Python libraries that are required to run the code. This is often stored in the requirements.txt file. If such file is present, it often makes sense to install those packages prior to running the notebook, using
pip install -r requirements.txt
You may also want to install JupyterLab instead, which is more advanced version of Jupyter Notebook, if you are planning to use notebooks extensively.
pip install juputerlab
jupyter-lab
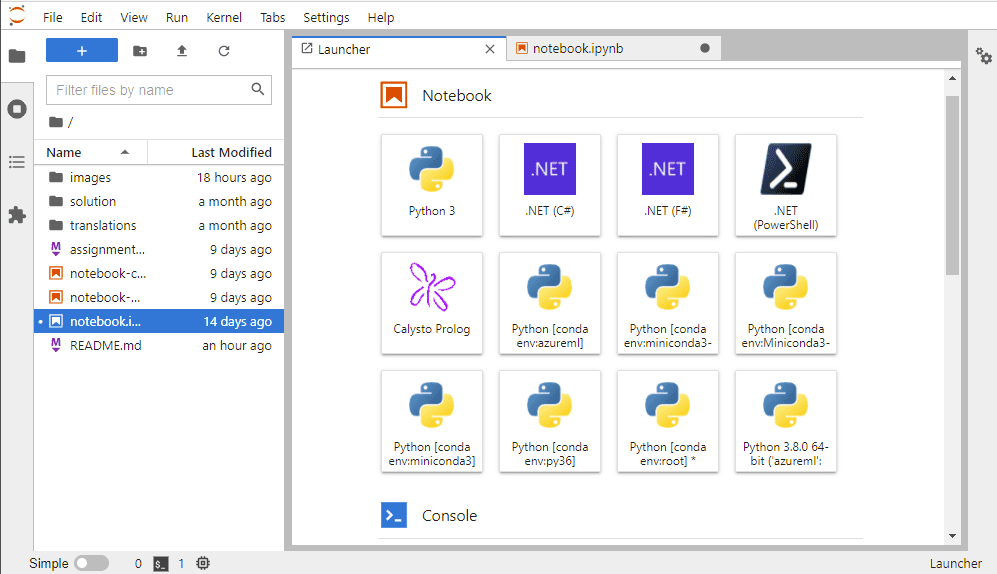
JupyterLab looks like more complete development environment, giving you also text editor for Python scripts, through-the-browser terminal access, and more.
.NET Languages in Notebooks
Jupyter supports many different programming languages in addition to Python. If you want to run or develop notebooks that use C# or F#, you can use .NET Interactive. The installation of .NET Kernel for Jupyter is described here
Using Visual Studio Code
Opening notebooks in the browser gives you a classical experience, but it is not the best idea. You get many more features if you use Visual Studio Code, which has great built-in support for Jupyter Notebooks, including variable explorer, debugging, etc. For this to work, you need to install Python Extension (or .NET Extension, if you need C#/F#). Also, you would need to have Python environment installed on your machine, as described in the previous section.

Here is some more documentation on using Jupyter in VS Code.
While local installation options are best for continued use, you may prefer some online Jupyter environments. This way, you do not need to install anything on your system. In some cases, even when you have local Python installation, you may still want to try things out online, in a clean environment.
Using Binder
MyBinder.org is a great project that allows you to create virtualized Jupyter Notebook environment from any GitHub repository. You just need to enter the URL, and Binder will create a container for you, and start Jupyter environment. Many repositories with Jupyter Notebooks include Launch Binder button to open the repository in Binder automatically.

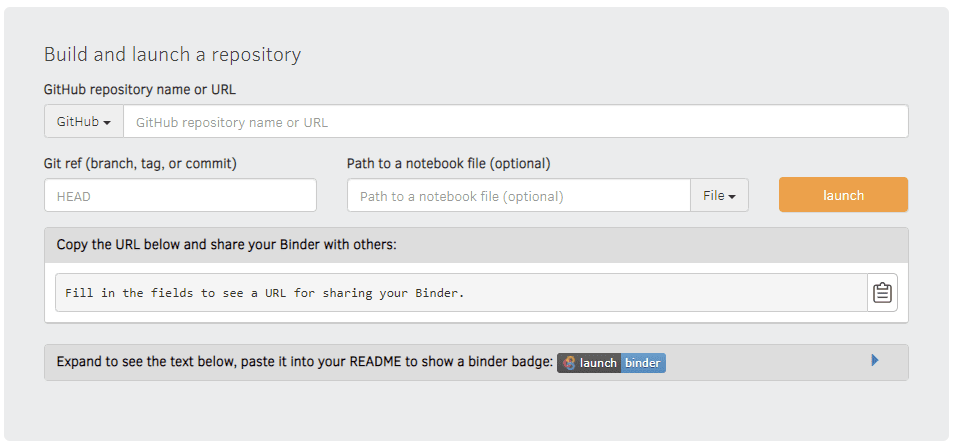
Binder will try to setup an environment best suited for your needs. For example, if the repository includes requirements.txt file that specifies required libraries, it will install those automatically. More specific configuration can be defined using config files in binder directory of the repository.
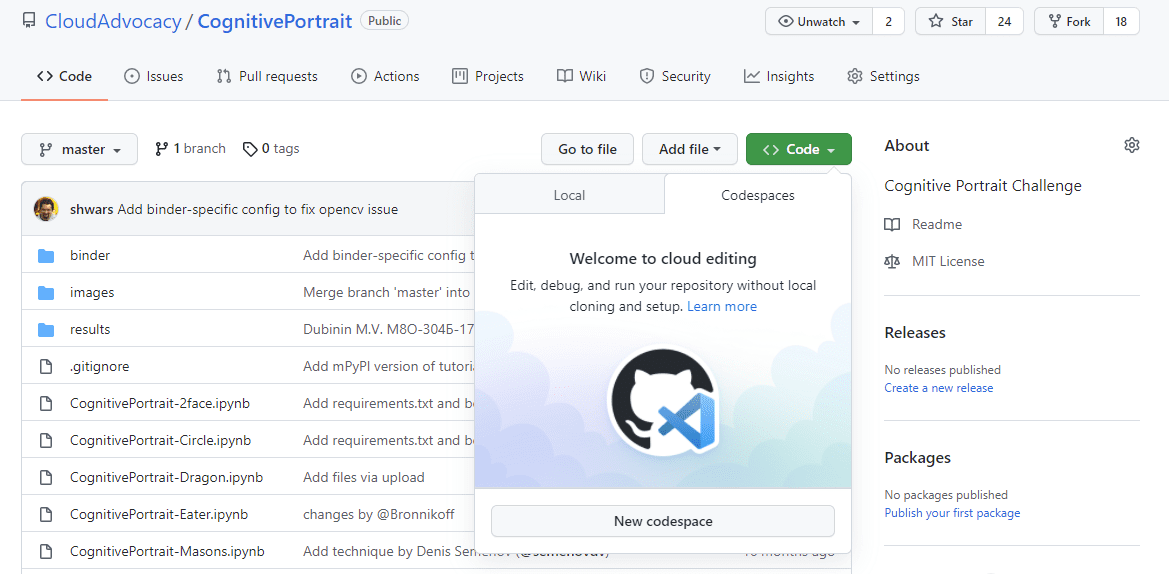
Using GitHub Codespaces
GitHub Codespaces is a great feature of GitHub that allows you to open any repository in a virtualized environment in the cloud, and access it through either online VS Code editor in your browser, or through local VS Code installation. Currently, you may sign up for beta access to Codespaces, which will include some free compute to run your notebooks on.
Other Online Notebook Engines
There are a few other options that you can use to run notebooks online:
- JetBrains Datalore offer you some limited free compute (currently 120 hrs/month), as well some GPU compute time. You would need to upload your notebooks to Datalore workspace manually.
- CoCalc is a comprehensive environment for Data Science, that supports a number of programming languages, such as R, Julia and Sage, a symbolic computer algebra system. It also support running a limited set of GUI Linux applications, as well as math text editing using LaTeX. I wrote about CoCalc earlier in my post about using symbolic algebra systems for school (in Russian).
- Google Colab that most of the people already know about, and thus I do not need to go into detail.
Takeaways
When you encounter the need to run a Jupyter Notebook, you may go two ways:
- Run it in your local Python environment using either browser interface to Jupyter/JupyterLab, or Visual Studio Code
- Run it online using Binder, or one of the other options.
Both ways have their own advantages and disadvantages, but I hope that after reading this post you will be able to select your own preferred way of running notebooks.