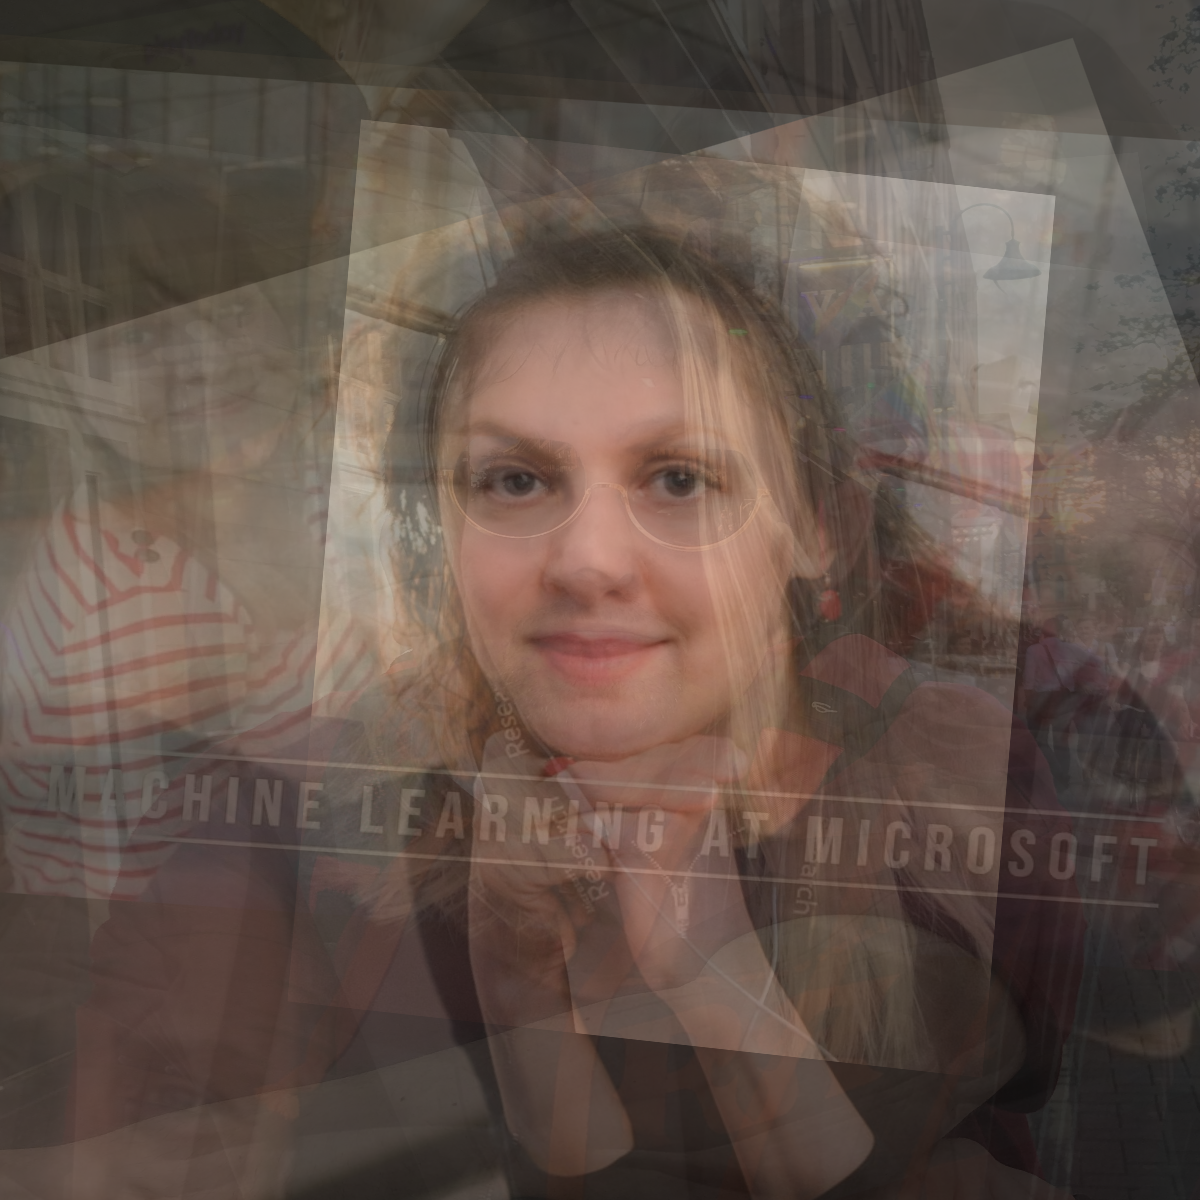
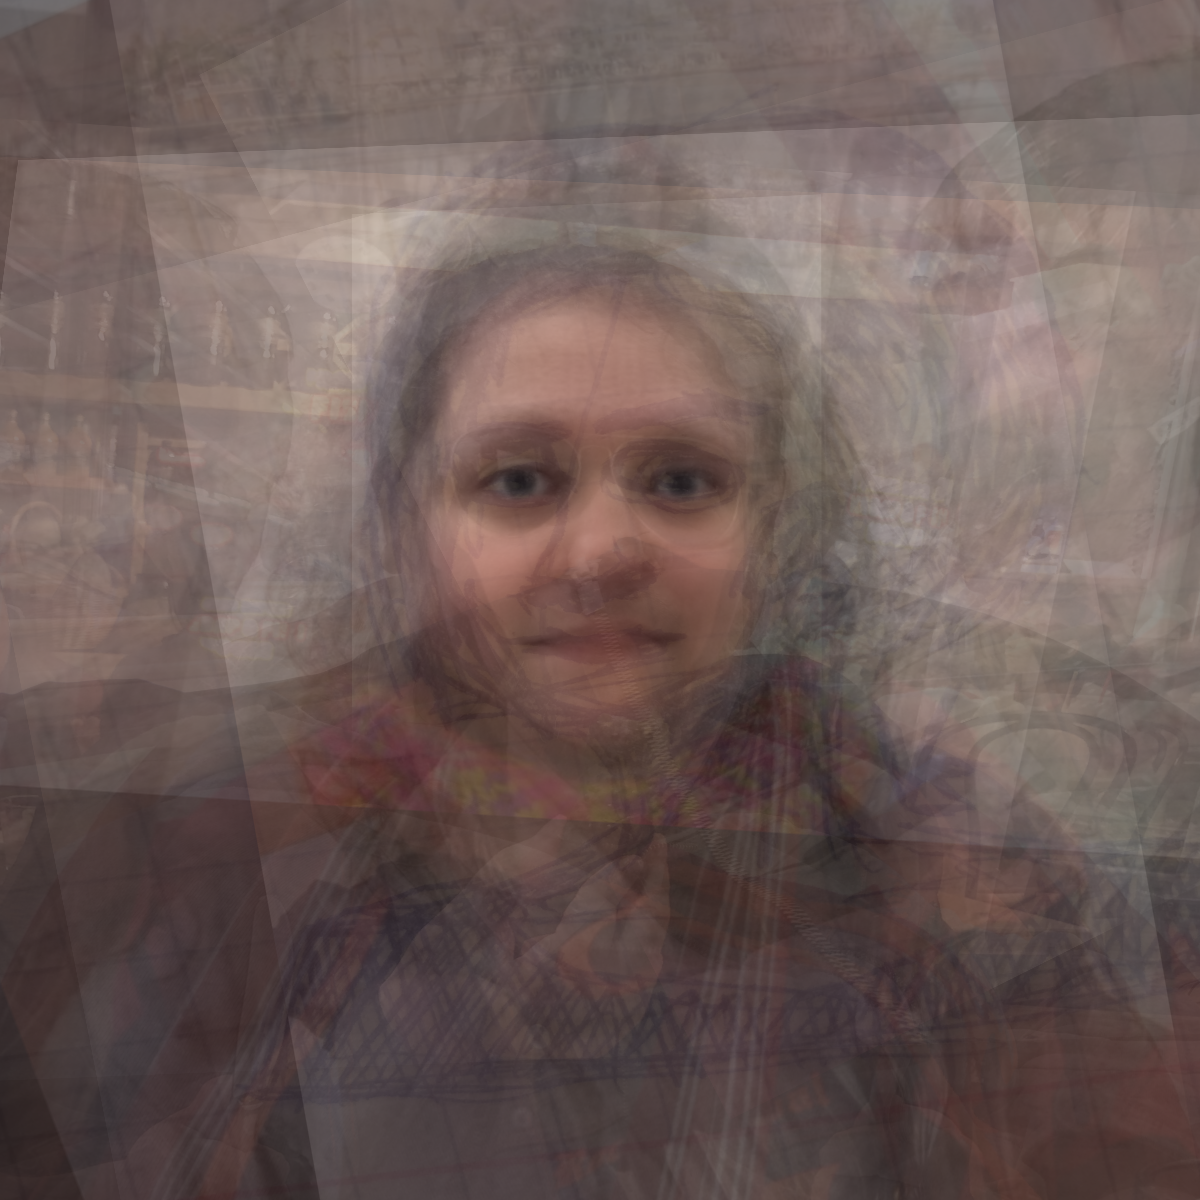
I very much believe in interdisciplinary things, where different fields of knowledge can blend together to create something unique. Since my daughter loves art, and I love technology — I often look into the intersection of those two areas, or so-called Science Art. This time, I want to share with you the results of one artistic experiment, which I call Cognitive People Blending:
 |  |
| Glass Girl, 2019 | Vickie Rotator, 2019 |
The way those pictures were created is by aligning several portraits according to their eyes — thus creating something which looks like a combined blended face. While you can certainly do that manually in PhotoShop, it would be time-consuming, and your ability to do rapid experimentation would be seriously limited. I will show you how to create pictures like that quite easily using Microsoft Cognitive Services and a bit of creativity. You can follow the procedure that I describe below using the code available here. If you use the code to create your own images, please reference Cognitive People Blending technique and the link: http://bit.do/peopleblending.
The Main Idea
The process starts with a number of portraits — they can be pictures of the same person, or of different people whom we want to blend together. The more pictures you have — the more interesting result you will get. Starting with 10 pictures you can produce something interesting.
To find out where eyes are on each picture we will use Face API — it can extract coordinates of key points of the face, so called Facial Landmarks. We will then use a clever thing called affine transformation and OpenCV library to rotate the image according to the key points. Finally, we need to blend images together using simple averaging.
Extracting Facial Landmarks
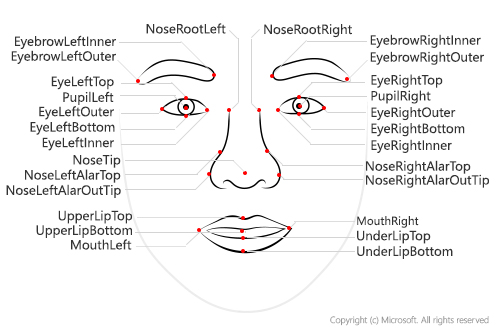
Let’s start with learning how to extract facial landmarks from a picture. Microsoft Face API provides a simple REST API that can extract a lot of useful information from the face image, including those landmarks:

It is quite easy to call Face API directly via REST, but it is even better to use existing SDK, which is available for Python as part of Azure SDK library. You can visit Microsoft Docs for more detailed information on Face API and using it from languages other than Python.
We install SDK (together with OpenCV library that we will need) using the following command:
pip install azure-cognitiveservices-vision-face opencv-python
To use Face API, we need to provide a key and endpoint URL (because it is available in different regions, URL can be different). There are many ways to obtain Face API Key:
Important: If you use trial key, your Face API will have some limitations, in terms of number of images you can process, and frequency of API calls (not more than 20 calls per minute). In order to make things work with more than 20 images, you would need to insert some pauses in between calls.
After you get the key and endpoint, we would put them into our code:
key = '--INSERT YOUR KEY HERE--'
endpoint = 'https://westus2.api.cognitive.microsoft.com'
Most of the calls of the Face API are done through the static module cognitive_face, which we will call cf for brevity:
import azure.cognitiveservices.vision.face as cf
from msrest.authentication import CognitiveServicesCredentials
cli = cf.FaceClient(endpoint,CognitiveServicesCredentials(key))
The main function for face detection is called face.detect_with_url or face.detect_with_stream. It can extract a lot of useful information from the face, depending on the parameters that you specify — in our case we would need facial landmarks:
im_url='https://2016.dotnext-piter.ru/assets/images/people/soshnikov.jpg'
res = cli.face.detect_with_url(im_url,return_face_landmarks=True)
print(res[0])
In this code, res would be an array, each element of which corresponds to a face found in the picture. We will always assume that we are dealing with portraits that contain one and only one face, thus using res[0] would give use the information for that face:
{'face_rectangle': <azure.cognitiveservices.vision.face.models._models_py3.FaceRectangle object at 0x7f72f23570b8>, 'additional_properties': {}, 'face_attributes': None, 'face_id': '59dc97ef-b5e2-4c83-99c0-75cdb69048fa', 'face_landmarks': <azure.cognitiveservices.vision.face.models._models_py3.FaceLandmarks object at 0x7f72f2357080>, 'recognition_model': None}
To get facial landmarks are dictionary, we will use res[0].facial_landmarks.as_dict():
{'nose_left_alar_top': {'y': 147.4, 'x': 131.9}, 'eyebrow_right_inner': {'y': 106.3, 'x': 157.2}, 'pupil_right': {'y': 118.9, 'x': 170.9}, 'eye_right_outer': {'y': 118.5, 'x': 181.5}, 'pupil_left': {'y': 126.7, 'x': 112.6}, 'eyebrow_right_outer': {'y': 106.6, 'x': 192.1}, 'eye_right_top': {'y': 115.0, 'x': 171.3}, 'nose_tip': {'y': 158.4, 'x': 148.7}, 'upper_lip_top': {'y': 173.6, 'x': 150.3}, 'eyebrow_left_outer': {'y': 120.3, 'x': 84.1}, 'nose_right_alar_top': {'y': 143.8, 'x': 158.4}, 'nose_root_right': {'y': 124.3, 'x': 151.5}, 'nose_root_left': {'y': 126.3, 'x': 135.4}, 'eye_left_inner': {'y': 126.7, 'x': 122.4}, 'eyebrow_left_inner': {'y': 110.1, 'x': 122.9}, 'nose_left_alar_out_tip': {'y': 159.3, 'x': 128.2}, 'eye_left_outer': {'y': 128.9, 'x': 103.3}, 'eye_left_bottom': {'y': 131.4, 'x': 113.7}, 'eye_left_top': {'y': 122.8, 'x': 112.3}, 'eye_right_bottom': {'y': 123.5, 'x': 172.7}, 'under_lip_bottom': {'y': 193.0, 'x': 154.5}, 'under_lip_top': {'y': 186.2, 'x': 152.7}, 'upper_lip_bottom': {'y': 176.9, 'x': 151.7}, 'nose_right_alar_out_tip': {'y': 153.0, 'x': 167.0}, 'mouth_left': {'y': 182.6, 'x': 121.6}, 'mouth_right': {'y': 172.1, 'x': 177.8}, 'eye_right_inner': {'y': 120.8, 'x': 162.7}}
Processing the Images
By this time, we need a collection of images. I suggest that you start with 15-20 of your own photographs. However, if you are eager to try and too lazy too collect photos, you can download some images of Bill Gates obtained from Bing Image Search. We will place them into images directory:
mkdir images
wget https://github.com/shwars/NeuroWorkshopData/raw/master/Data/Gates50.zip
unzip -q Gates50.zip -d images
rm Gates50.zip
If you are using Azure Notebook and want your own pictures — create images directory in your project and upload your photographs there manually.
Now, it’s time to have fun! We will load all images and call Face API to get the facial landmarks:
import glob
filenames = []
images = []
imagepoints = []
for fn in glob.glob("images/*"):
    print("Processing {}".format(fn))
    with open(fn,'rb') as f:
        res = cli.face.detect_with_stream(f,return_face_landmarks=True)
    if len(res)>0:
        filenames.append(fn)
        images.append(cv2.cvtColor(cv2.imread(fn),cv2.COLOR_BGR2RGB))
        imagepoints.append(res[0].face_landmarks.as_dict())
To see the result, let’s plot the landmarks over the images:
def decorate(i):
    img = images[i].copy()
    for k,v in imagepoints[i].items():
        cv2.circle(img,(int(v['x']),int(v['y'])),7,(255,255,0),5)
    return img
display_images([decorate(i) for i in range(1,5)])
In this code, function display_images is used to plot the series of images, I will omit the code here, you can find it in the repository.

Now that we have the points, we need to get images aligned, so that eyes are moved to the exact same positions for all images. To do this, we will need to scale the image, rotate it, and possibly do some skewing. In mathematics, such transformation of an image is called affine transformation. It is also known, that an affine transformation is uniquely defined by the transformation of three points.
In our case, we know the positions of eyes, and we know that we want to move them to location (130,120) and (170,120) – which sounds like a good location if we target 300x300 image size. However, we need one more point apart from eyes to completely define the transformation.
While we can chose any point, it is convenient to take middle of the mouth - because it is somehow opposite to the eyes, and the triangle eyes-mid-mouth covers quite a large area of a face. We do not have a facial landmark for mid-mouth, but we can take an average point between mouth_left and mouth_right instead.
An affine transformation is defined in 2D-space using a matrix. OpenCV contains a function getAffineTransform that can compute such a matrix given coordinates of 3 points before and after transformation, as we described above. Then, we use warpAffine to apply transformation to the original image — it also cuts out the remaining portions of the image, so that it fits the rectangle of the specified size.
target_triangle = np.float32([[130.0,120.0],[170.0,120.0],[150.0,160.0]])
size = 300

def affine_transform(img,attrs):
    mc_x = (attrs['mouth_left']['x']+attrs['mouth_right']['x'])/2.0
    mc_y = (attrs['mouth_left']['y']+attrs['mouth_right']['y'])/2.0
    tr = cv2.getAffineTransform(np.float32(
        [(attrs['pupil_left']['x'],attrs['pupil_left']['y']),
         (attrs['pupil_right']['x'],attrs['pupil_right']['y']),
         (mc_x,mc_y)]), target_triangle)
    return cv2.warpAffine(img,tr,(size,size))
Once we defined this function, we can transform all our images:
img_aligned = [affine_transform(i,a) for i,a in zip(images,imagepoints)]
display_images(img_aligned[:5])

And… voila!
To get the final result, we basically need to blend images together. To do that, we just need to average corresponding numpy-arrays, which can be done using one simple operation:
imgs=np.array(img_aligned,dtype=np.float32)/255.
plt.imshow(np.average(imgs,axis=0))
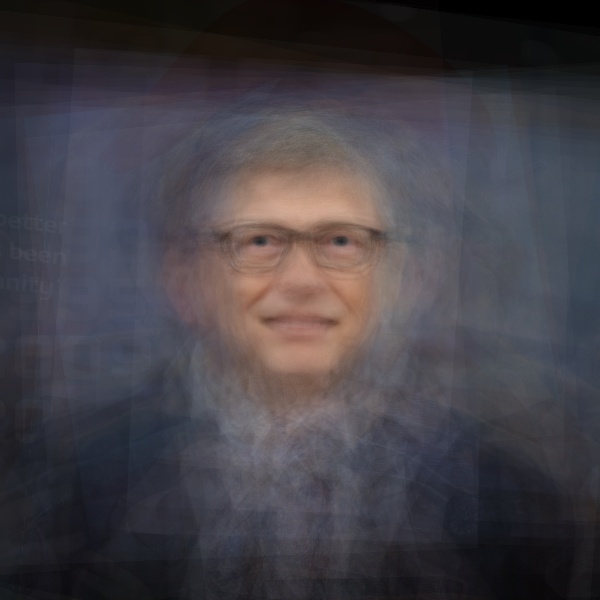
One trick here is that we need to convert image data from integer matrix to floating point (in the range of 0..1) in order to get averaging right. Once we do that — here is the result:

Now it’s Time to PeopleBlend!
Now you know everything you need to create your own PeopleBlends! You have the sample code here, and you don’t even need Python installed, because you can use Azure Notebooks. So you have no excuse not to try it yourself!
To give you one more reason to try (apart from curiosity and creativity), I am going to announce a small Xmas competition! Please leave your results (for example, as links to social media posts) in comments or send them to me by January 1st, and I will publish the best picture in this blog and give the winner a copy of my F# book (which is now a rarity, because it is quite outdated).
Happy PeopleBlending!